How did my GitHub Blog begin?
The Story
It all begins on a random Sunday, some months ago. A bored and lazy Sunday. With nothing left to do, I was browsing some of my old blog posts on Wordpress, and cringing through the sweat of the sultry summer day. It was a perfect waste of time.
I had mostly posted poems, and some un-noteworthy short stories in my blogs. Excluding some stray spray on my HashNode Blog, I had no posts of my programming/tech-related pursuits. The majority of my day is spent in front of a laptop - work and leisure; it’s a shame this major aspect of my life was left out of my blog posts. Something had to be done.
A seed had been planted.
Over time, I had realized a few things:
First, I don’t like using major blogging platforms. There’s this implicit competition to garner the most attention, which unsurprisingly makes it feel like work. I don’t like work. Go figure.
Second, I want something of my own, and full control (almost) over it.
Third, I want it to be simple, minimal, hassle free, and above all else, easy-peasy.
Finally, I am cheap enough, and I want to host it all for free.
That led me to Github Pages, and using a static site generator like Jekyll to generate the HTML and host it all for free.
I already had a Github Page setup for this task a couple of years back, when I first came across this stuff. Apart from just setting up a dummy project and leaving it blank, there was nothing there.
Everything had to be built from scratch.
First Few Steps
The first thing that I did was to remove the old repository of my Github Blog.
After that, I setup Jekyll in my local development environment, and re-created the Github Blog.
Next, I started searching for themes for my blog. I wanted something simple, minimal, easy to configure, and lightweight. Oh, and free ofcourse. I browsed through multiple themes, but at the end I did not find any that matched all my criteria. As a result, I settled with Jekyll’s default theme, Minima.
After a bit of a tumble, and a rumble, and a stumble, I got everything up and running, both in my local development environment as well as in my Github Pages.
Then I posted my first, but cringey, blog post.
A Touch of Personalization
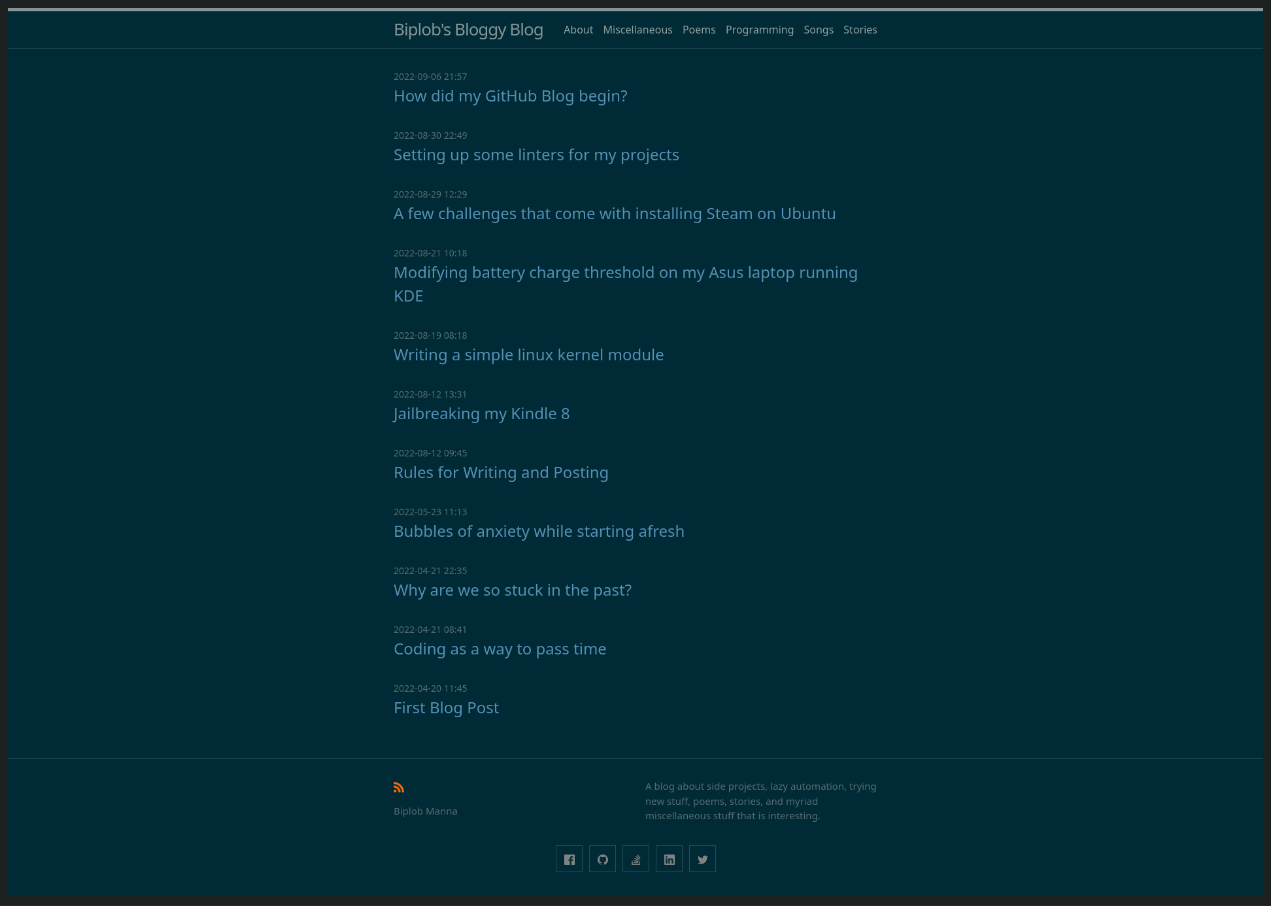
The site was up. It was functional enough, but the navigation header looked sparse. Something more was needed.
I decided to add more categories to divide my posts into, i.e, each post will belong to a category. The categories will be in the navigation header, and on click, it should redirect to the category page, where all posts belonging to that category is listed.
The posts were to be sorted by datetime of creation, but this is the default behaviour in Jekyll.
I decided on 5 categories: miscellaneous, poems, programming, songs, and stories.
To add those pages, I created corresponding markdown files <category>.md in the project root, with the front matter:
---
layout: page
title: <category>
permalink: /<category>/
---

{% include <category>.html %}
where,
<category>is replaced by any of the aforementioned categories.
Each of those category pages lists all posts belonging to that category. For that, I created multiple <category>.html files inside the _includes/ directory.
Each of those HTML files contained logic to lists all posts belonging to that category:
<div class="<category> posts">
 <ul class="post-list">
  {% for post in site.posts %} {% if post.categories contains "<category>" %}
  <li>
   <span class="post-meta">{{ post.date | date_to_string: "ordinal" }}</span>
   <a class="post-link" href="{{ post.url }}">
    <h3>{{ post.title }}</h3>
   </a>
  </li>
  {% endif %} {% endfor %}
 </ul>
</div>
All’s well that ends well
With this much, my personal blog was up and running.
Since this was my first time with Jekyll, this was a lengthy and mildly-difficult start. Over time, I was going to get more comfortable.
It would be many months before I actually blogged some substance, but that’s how it normally goes.
However, pretty soon I was fated to be bored once more, and this time try to automate a 2 minute job by spending 2 days.
Check out the entire series of posts related to Blog Setup